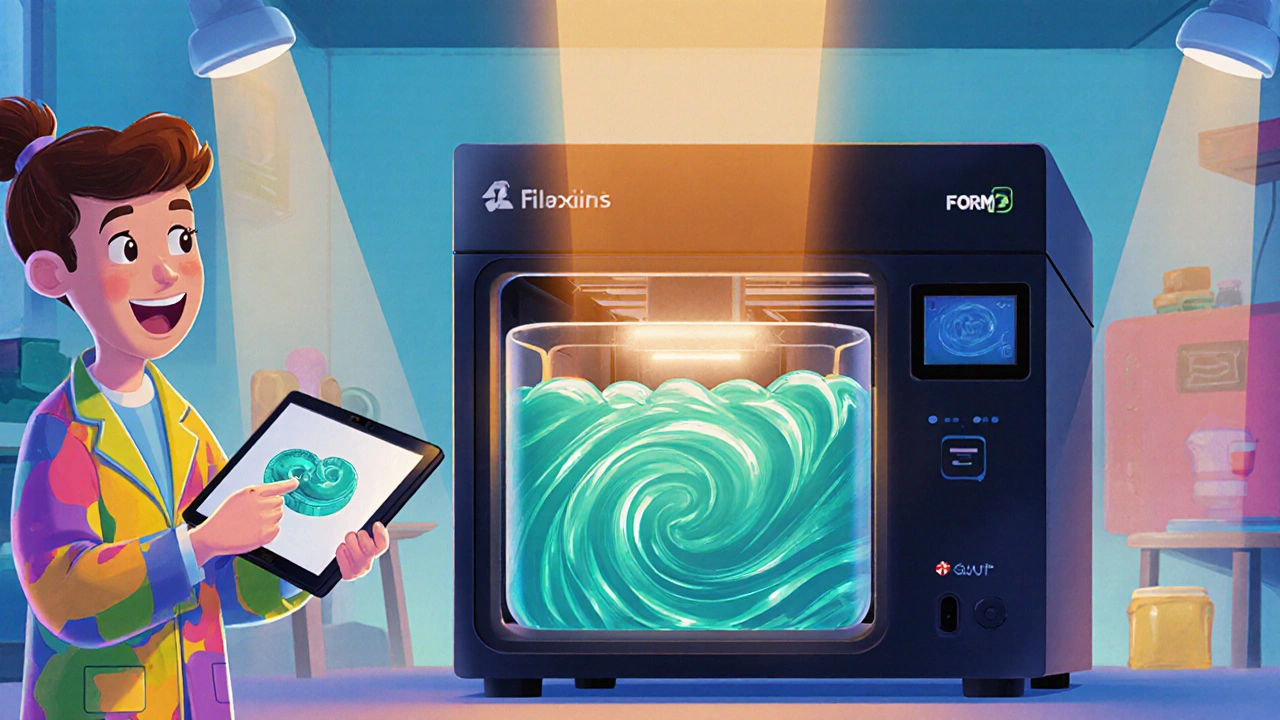
Silicone 3D printing is a niche branch of additive manufacturing that lets you produce flexible, heat‑resistant parts directly from liquid silicone. Unlike traditional mould‑based silicone casting, the process builds objects layer by layer using light‑cured silicone resin, opening up rapid‑prototype cycles and complex geometries that were previously impossible. In this guide we’ll break down the whole workflow: from choosing the right resin to finishing the part for real‑world use. Whether you’re a product designer, medical engineer, or hobbyist, you’ll walk away with a clear roadmap and a handful of shortcuts that can shave days off your project.
What Makes Silicone Different from Other 3D‑Print Materials?
Most desktop printers work with rigid polymers like PLA, ABS, or nylon. Silicone, on the other hand, is a silicone resin that remains rubbery after curing. Its key attributes are high elongation at break (often >600 %), low compression set, and excellent biocompatibility. These traits make it ideal for medical prosthetics, automotive seals, and food‑grade components.
How the Process Works: Light‑Based Silicone Curing
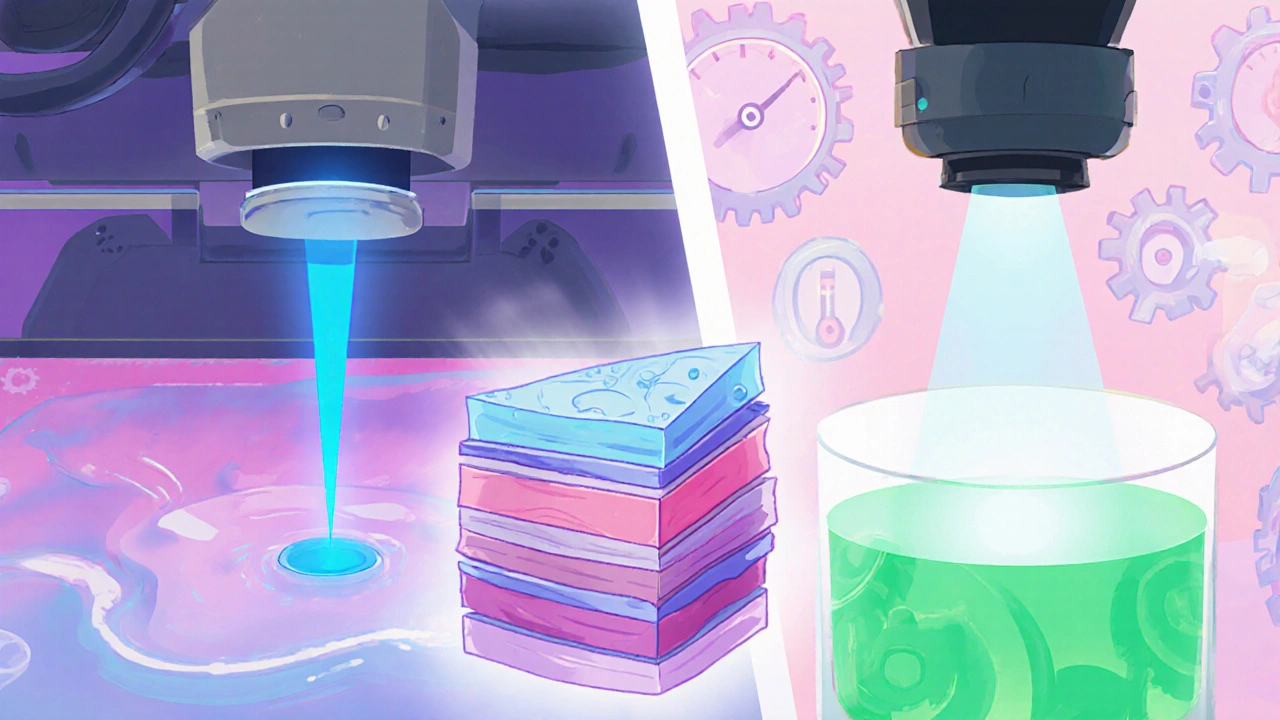
The most common technologies for silicone are SLA (Stereolithography) and DLP (Digital Light Processing). Both rely on a photoinitiator in the resin that triggers polymerisation when exposed to specific wavelengths of light.
- SLA uses a laser point that scans across the resin surface, solidifying one tiny pixel at a time.
- DLP projects an entire slice of the model at once, using a digital micromirror device (DMD) to flash the pattern onto the vat.
Because silicone resin is more viscous than standard photopolymers, the printer’s vat and recoating system must handle higher viscosity. Manufacturers typically recommend a resin viscosity between 900 and 1500 cP at 25 °C to ensure smooth layer formation without excessive drag.
Choosing the Right Silicone Resin
Not all silicone resins are created equal. Here are the three main families you’ll encounter:
- Medical‑grade silicone: Certified to ISO 10993 for biocompatibility, perfect for prosthetic sockets or wound‑care devices.
- Food‑grade silicone: Meets FDA 21 CFR 177.2600, safe for kitchen tools, gaskets, and food‑contact molds.
- Industrial silicone: Optimised for high‑temperature resistance (up to 250 °C) and chemical stability, used in automotive seals and aerospace components.
When you’re buying a resin, look for the Shore hardness rating (typically Shore A 20‑40 for flexible parts). The lower the number, the softer the final part. Mix‑and‑match the hardness to suit your application - a soft silicone footpad versus a firmer sealing gasket, for example.
Hardware: Which Printer Should You Use?
Several desktop and industrial machines now support silicone resin. The most popular among small‑scale users is the Formlabs Form 3 because it ships with a dedicated silicone cartridge and a heated resin vat to keep the material at the ideal temperature.
Industrial‑scale shops may opt for a larger DLP system like the Carbon L1 or a custom‑built SLA rig that can handle vats up to 5 L. The key specifications to compare are:
- Build volume - larger parts need a bigger vat.
- Light source wavelength - silicone resins typically cure at 405 nm.
- Temperature control - maintain the resin between 25‑35 °C for consistent viscosity.
Design Tips: Geometry, Supports, and Slice Settings
Because silicone behaves like a rubber, it can sag under its own weight if you print tall, thin walls. Follow these guidelines:
- Keep wall thickness above 1 mm unless you reinforce with an internal lattice.
- Use minimal supports. Silicone’s low surface tension makes supports stick strongly; use breakaway supports with a low‑adhesion base (often a PVA‑based support material).
- Layer height: 50‑100 µm gives good surface finish while keeping build time reasonable.
- Orientation: Print the part flat whenever possible to reduce overhangs and improve dimensional stability.
Post‑Processing: From Wet Print to Ready‑to‑Use Part
Unlike rigid resins, silicone parts need a two‑step cure to reach full mechanical properties.
- Isopropyl alcohol (IPA) wash: Submerge the print for 5‑10 minutes to remove uncured resin. A gentle ultrasonic bath helps clear crevices.
- Post‑curing: Expose the cleaned part to UV light (405 nm) for 10‑20 minutes per side. Some manufacturers recommend a supplemental heat cure at 60 °C for 30 minutes to drive out residual solvent and boost Shore hardness.
After curing, inspect the surface for tackiness. A quick dip in a silicone‑compatible release agent can eliminate the faint tack that sometimes remains.
Real‑World Applications
Here are three quick examples that illustrate why silicone 3D printing is gaining traction:
- Medical prosthetics: Custom‑fit ear or nose prostheses printed in medical‑grade silicone meet ISO 10993 standards, reducing lead‑time from weeks to days.
- Automotive seals: Engineers prototype complex O‑rings and vibration dampeners in‑house, iterating designs without tooling costs.
- Food‑grade kitchen tools: Flexible spatulas and custom cookie‑cutters printed in FDA‑compliant silicone are safe for direct food contact.

Common Pitfalls & How to Avoid Them
Even seasoned makers run into roadblocks. Recognise the symptoms early:
| Issue | Cause (Silicone) | Solution |
|---|---|---|
| Layer delamination | Viscosity too high, causing poor recoating | Heat the vat to 30 °C; use a lower‑viscosity resin |
| Sticky surface | Insufficient post‑cure | Extend UV exposure or add a 60 °C heat bake |
| Support scars | Support material bonds strongly to silicone | Apply a release coating on the build plate and use breakaway supports |
Another frequent error is under‑estimating shrinkage. Silicone can shrink up to 2 % after cure; always add a small scaling factor in your CAD model.
Future Trends: Where Is Silicone 3D Printing Headed?
Advances are coming fast. Researchers are developing “dual‑cure” resins that combine silicone with a stiff thermoplastic, letting you print a flexible core with a rigid shell in a single build. Machine manufacturers are also integrating inline filtration systems to keep the resin free of cured particles, which improves print reliability.
On the software side, new slicers now include built‑in elasticity compensation algorithms that predict how a part will stretch during curing and automatically adjust the model geometry.
Quick Checklist Before You Print
- Confirm resin type (medical, food, or industrial) and its Shore hardness.
- Verify printer compatibility - UV wavelength, vat temperature, and maximum resin viscosity.
- Set layer height to 50‑100 µm; orient part to minimise overhangs.
- Plan for post‑cure: UV lamp power, exposure time, and optional heat bake.
- Scale model by 1‑2 % to counteract shrinkage.
Bottom Line
Silicone 3D printing bridges the gap between rapid prototyping and the functional flexibility of traditional silicone molding. By picking the right resin, mastering the light‑cure process, and following a disciplined post‑cure routine, you can produce parts that are ready for medical, automotive, or consumer‑grade applications straight from your desktop.
Can I use any standard SLA printer for silicone resin?
Most desktop SLA machines can print silicone if they allow temperature control and support the 405 nm wavelength. However, you’ll need a printer that can handle the higher viscosity and provide a heated resin vat to keep the silicone fluid.
What is the difference between SLA and DLP for silicone?
SLA scans each point with a laser, which can give finer detail but takes longer. DLP flashes an entire layer, making it faster but sometimes slightly less precise. For most silicone parts, DLP’s speed advantage outweighs the marginal resolution loss.
Do I need special safety gear when printing silicone?
Silicone resins are generally low‑toxicity, but they do contain photoinitiators that can irritate skin and eyes. Wear nitrile gloves, safety goggles, and work in a well‑ventilated area.
How long does post‑curing take?
A standard UV post‑cure is 10‑20 minutes per side. Adding a 60 °C heat bake for 30 minutes can boost mechanical properties, especially for high‑temperature applications.
Is silicone 3D printing suitable for large production runs?
For small‑batch or custom parts, 3D printing shines. Large‑scale manufacturing still relies on injection molding because of lower per‑part cost. However, advances in high‑throughput DLP rigs are narrowing that gap.


One comment
They hide the true cost of silicone printing behind glossy brochures.
Make sure your resin stays between 25 and 35 °C before you start the print to keep the viscosity in the right range.
Skipping gloves and goggles because the resin looks harmless is just reckless and anyone who does that is putting the whole lab at risk.
If we think of each layer as a moment in time, the printed silicone becomes a physical record of our intentions 😊.
That perspective turns a simple manufacturing step into a reflective act.
It reminds us that technology is never neutral.
I see your point about the philosophical layering of each print.
It’s fascinating how a digital file becomes a tangible object.
The analogy resonates with the iterative nature of design.
Keep exploring these ideas, they add depth to the discussion.
Looking forward to more insights.
Your next silicone prototype could be the spark that lights up a whole new realm of wearable tech, bursting with color and possibility!
Use a heated vat and a low‑adhesion build plate to avoid print failures.
The proliferation of silicone 3D printing is a textbook case of technological optimism masking underlying ethical decay.
Corporations tout rapid prototyping as a democratizing force, yet they quietly skimp on rigorous biocompatibility testing to cut costs.
Regulatory bodies are overwhelmed, their oversight mechanisms buckling under the sheer velocity of material innovation.
This creates a vacuum where unvetted resin formulations slip onto the market, endangering both consumers and the environment.
Post‑curing protocols are often abbreviated, leaving tacky residues that can leach photoinitiator fragments.
Such fragments have been linked to cellular stress responses, a fact conveniently omitted from glossy datasheets.
Moreover, the high‑viscosity nature of silicone resins encourages the use of filler additives, many of which are petrochemical derivatives.
These additives compromise the claimed sustainability of silicone, undermining the narrative of eco‑friendly manufacturing.
From a systems‑thinking perspective, each shortcut erodes the trust fabric that holds the additive manufacturing ecosystem together.
When engineers bypass temperature control, they introduce micro‑voids that serve as nucleation sites for premature failure.
Premature failure not only incurs hidden costs but also fuels a culture of disposability, contrary to the principles of circular design.
The moral calculus must factor in the long‑term health implications for end‑users, especially in medical prosthetic applications.
Failing to do so is not merely an oversight; it is a negligent abdication of professional responsibility.
Stakeholders should enforce transparent reporting of resin composition, cure kinetics, and post‑process validation data.
Only through such rigorous stewardship can we reconcile the seductive allure of silicone 3D printing with the imperatives of safety and sustainability.
I love how you’ve broken down the post‑cure steps, it makes the whole process feel approachable and safe.
Behold the saga of the silicone cascade, where each droplet of resin becomes a protagonist in an epic of elasticity.
The printer hums like a restless dragon, breathing light into molten pliability.
Walls rise, delicate as spider silk, defying gravity yet yearning for support.
Every layer whispers a secret, a promise of softness and strength intertwined.
And when the final cure dawns, the creation stands, resilient, ready to embrace the world’s demands.